
Accurate room measurements are one of the most important starting points for custom furniture. A beautiful design can still fail if it blocks a doorway, leaves too little circulation space, collides with switches, or does not account for skirting boards, columns, and uneven walls. Measuring the room before fabrication helps reduce these risks and gives the designer a more reliable base for planning proportions, storage, and installation.
This guide explains what to measure, how to record it, and which details are easy to miss before ordering bespoke furniture for living rooms, bedrooms, home offices, dining areas, or built-in storage.
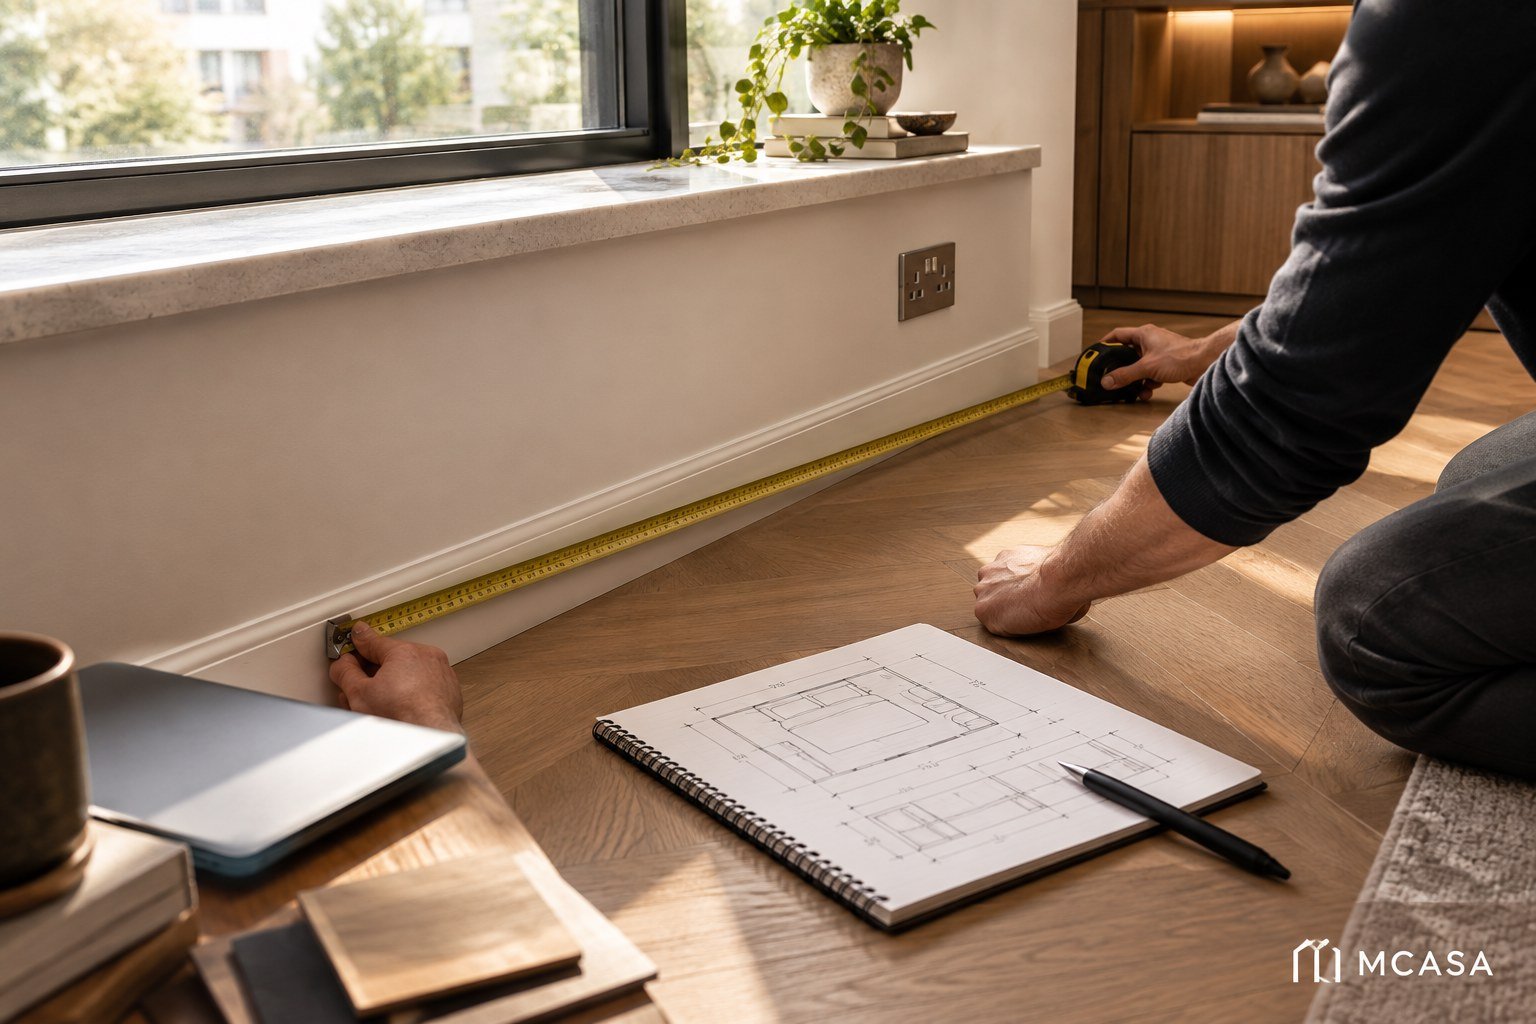
Why room measurements matter for custom furniture
Custom furniture is designed around a specific space, so the room itself becomes part of the specification. Wall length is only one part of the picture. Door swing, outlet position, ceiling height, window sill level, skirting thickness, and circulation paths can all affect the final dimensions.
For a broader overview of the design process, see Planning Custom Furniture from Concept to Completion.
Start with the overall room dimensions
Measure the room wall by wall instead of assuming opposite walls are identical. Record the full length of each wall and the floor-to-ceiling height in several positions if the ceiling or floor may not be perfectly level.
- Measure every wall from corner to corner.
- Record ceiling height near each relevant wall.
- Note any columns, beams, niches, or wall projections.
- Check whether the floor has a step, platform, or level change.
- Photograph each wall so the measurements can be matched to the correct location.
Measure doors, windows, and circulation zones
Furniture should fit the room without interrupting the way people move through it. Measure door openings, door swing direction, and the distance between doors and nearby walls. For windows, record the overall width and height as well as the sill height from the floor.
Do not forget curtains, blinds, handles, or window panels that need room to open. If the furniture will sit near a walkway, keep enough clearance for comfortable movement.
Door details to record
- Opening width and height.
- Direction of the door swing.
- Distance from the frame to adjacent walls.
- Handle projection when the door is open.
Window details to record
- Window width and height.
- Sill height from the finished floor.
- Depth of the window recess.
- Curtain, blind, or track position.
Check skirting boards, wall panels, and mouldings
A built-in cabinet may look flush on a drawing but sit forward in reality because of skirting boards or wall mouldings. Measure their height and projection. If decorative wall panels are present, note their thickness and where they begin and end.
These details matter especially for wardrobes, TV cabinets, console units, and full-height storage that is intended to align closely with the wall.
Record outlets, switches, and data points
Electrical details should be mapped before furniture dimensions are finalized. Measure the horizontal distance from a fixed corner and the vertical distance from the finished floor to each outlet, switch, data point, and wall-mounted control.
If the furniture will include electronics or integrated lighting, also review How to Plan Power Outlets and Cable Management for Custom Furniture.
| Item | What to Measure | Why It Matters |
|---|---|---|
| Power outlet | Horizontal and vertical position | Prevents blocked plugs and adapters |
| Light switch | Height and distance from corner | Keeps controls accessible |
| Data point | Position and cable direction | Supports routers, TVs, and workstations |
| Air-conditioning control | Location and access zone | Avoids covering controls |
Measure the usable area, not only the wall length
A wall may be three meters long, but not all three meters are necessarily usable. A door casing, floor vent, switch, column, or required walkway can reduce the practical furniture width.
Mark the actual usable span after subtracting fixed obstructions and circulation needs. This gives the designer a more realistic boundary for the furniture.
Think about furniture depth and room clearance
Depth affects both storage capacity and circulation. A deep cabinet can be useful, but it may narrow a walkway or make a small room feel crowded. Measure the distance from the wall to nearby furniture, doors, or traffic paths.
For living areas, the principles in Using Furniture to Define Zones in Open Interiors can help when the room serves more than one function.
A simple 7-step measuring workflow
- Draw a simple room outline. It does not need to be to scale yet.
- Measure each wall. Write the dimensions directly on the sketch.
- Add doors and windows. Record opening size, swing, and sill height.
- Mark fixed architectural details. Include columns, beams, niches, skirting, and wall panels.
- Map electrical points. Measure from a fixed corner and from the finished floor.
- Check circulation. Mark the areas that need to stay clear for walking and opening doors.
- Take reference photos. Photograph each wall and detail so the measurements are easier to interpret later.
Example: measuring for a custom TV cabinet
Imagine a TV wall that is 3.6 meters wide. The total wall width alone is not enough. There may be a power outlet 45 cm from the left corner, a data point behind the TV, a doorway 60 cm from the right side, and a skirting board that projects from the wall.
Before deciding the cabinet width, measure all of these details. Then determine how much clear wall remains and how much circulation space should be preserved near the doorway. For more TV-specific planning, see Designing a Custom TV Cabinet That Fits Your Space.
Common measuring mistakes to avoid
- Measuring only one wall and assuming the room is square.
- Ignoring skirting boards and wall mouldings.
- Forgetting door swing and handle clearance.
- Recording outlet positions without a fixed reference point.
- Measuring before the final floor or wall finish is installed.
- Relying on photographs without written dimensions.
- Not checking whether large furniture can physically enter through doors, lifts, or staircases.
Checklist before sending measurements to a furniture designer
| Check | Completed? |
|---|---|
| All relevant wall lengths recorded | □ |
| Ceiling height checked | □ |
| Doors, windows, and swing directions marked | □ |
| Skirting, columns, niches, and wall panels measured | □ |
| Outlets, switches, and data points mapped | □ |
| Circulation and opening clearances considered | □ |
| Reference photos attached | □ |
When should a professional site measurement be used?
Self-measurements are useful for early planning and consultation, but they should not always be treated as the final production dimensions. Built-in furniture, full-height cabinetry, complex wall conditions, and projects with tight tolerances may require a professional site measurement before fabrication.
If you are preparing for a design discussion, read Questions to Prepare Before a Custom Furniture Consultation so the measurements can be reviewed together with your storage, material, and functional requirements.
Frequently asked questions
Should I measure before or after renovation work?
Preliminary measurements can be taken early, but final production dimensions should reflect the finished condition whenever wall, floor, ceiling, or electrical work may still change.
What if the walls are not perfectly straight?
Record more than one measurement and flag the irregularity. Built-in furniture may need fillers, scribes, or installation allowances to accommodate uneven walls.
Do I need to measure access routes too?
Yes. Doorways, lifts, corridors, and staircases can affect how large furniture components are delivered and installed. This is especially important for oversized or fully assembled pieces.
Accurate measurements make better custom furniture possible
Good measurements do more than confirm whether furniture will fit. They help the designer plan proportions, access, storage, electrical integration, and installation with fewer surprises. A clear room sketch, complete dimensions, and reference photos create a stronger starting point for a custom furniture project.